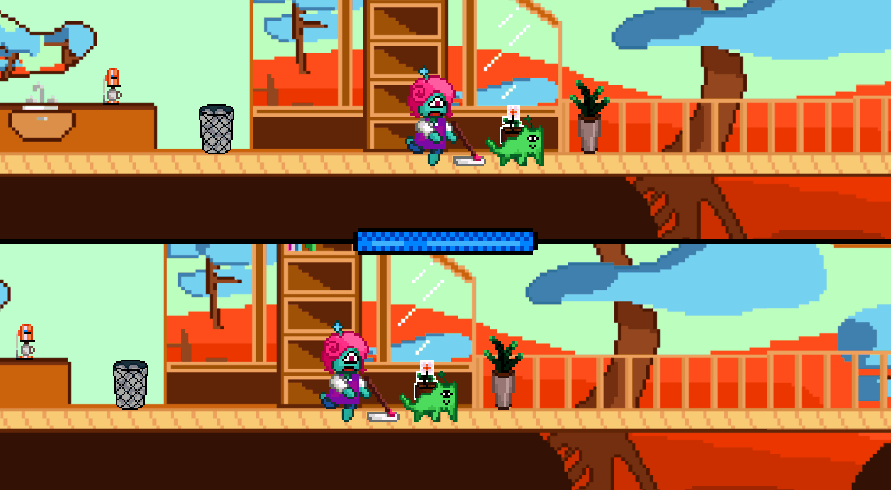
Starduster!
Starduster is a 2D local multiplayer head-to-head game about spring cleaning on an alien planet! One person plays as a cat-like-creature on it’s mission to create chaos, and their owner, the other player, tries to stop them by whatever means necessary!
For this project I did the following:
- Created some object sprites
- Created the background from layout sketches
- Created and implemented the pulsing outline shader
- Created the particle effects as objects are damaged/cleaned
- Created and implemented the UI sprites
- Coded most of the destruction & cleaning logic
- Coded the looping world
- Implemented animations
This game was made in my own and others spare time over the course of three weeks, for the Great Spring Game Jam 2021. It’s available for free and is a measly 40mb download, so there’s no reason to not give it a try!
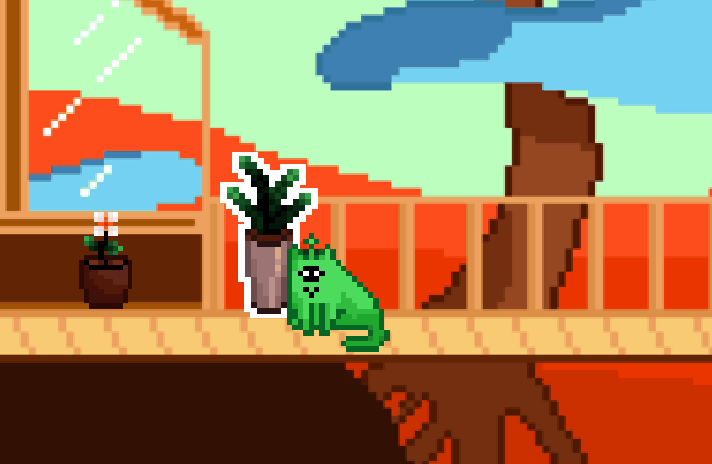
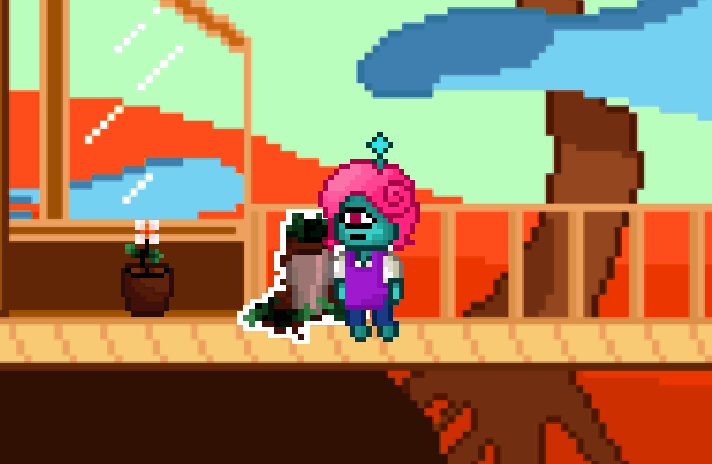
In the game, you play as either Herbert (the pet), or Duster (the owner). Herbert’s goal is to destroy every object he sees, while Duster’s goal is to make sure that the house remains clean

If you’re interested in the development of the looping world and/or outline shader, then read this blog post, and you can find all of the source code here.
We plan on slowly updating Starduster to expand on it’s current gameplay and to allow for modern gaming amenities like online multiplayer and input remaping, so keep an eye out!
The Technical Bits
Effects & Shading
There are many ways of creating outlines, especially on 2D objects, but due to the scale and scope of the project the decision was made to keep this element it simple and performant. We knew that we only ever wanted the outlines to be small.. well… outlines that highlight small objects around the main level. As a result, I created a simple shader which copies the silhouette of the sprite/texture in the 8 cardinal directions, creating the illusion of a growing stroke which compliments the pixel art-style.

A gif showing the entire ShaderGraph in action.

A gif showing how the subgraph which creates and offsets the silhouette.
Then in the object’s update function, it will update it’s material to one with the outline on it. This aspect could be optimised if there were intention to allow more than 2 players using Unity’s in-built events, however during development we found they are somewhat unreliable. This approach also prevents the “scattering” of code relating to the interactive objects into other areas of the code-base - i.e. there’s no event setup code relating to the interactive objects in the Player scripts. Only the object script handles it’s own behavior.
private void Update()
    {
        //Switch between shaders depending on who's hovering and the obj state
        if (dCollider.IsTouching(GameObject.Find("PlayerHumanoid").GetComponent<Collider2D>()) && (Destroyed || healthMax-currentHealth>0))
        {
            sprRender.material = outlineMat;
        }
        else if (dCollider.IsTouching(GameObject.Find("PlayerPet").GetComponent<Collider2D>()) && (!Destroyed || healthMax-currentHealth<healthMax))
        {
            sprRender.material = outlineMat;
        }
        else
        {
            sprRender.material = unitMat;
        }
    }
Finally, this approach also allows some customisation, the designer can create materials with different coloured strokes and apply that based on the object as they see fit (defaults are set to this).

Looping World

A gif showing how looping works with sketch art with obvious edges.
The second and main problem I wanted to solve was the implementation of looping the world. This is quite common in platformers, but can be difficult to wrap your head around, you basically want to make the world function like a torus (or at the very least a cylindrical for horizontal only looping). Contemporary engines which focus on platformers (like Unity) don’t have this functionality built-in, so we had to emulate it.

A quick look a some of the objects that create this effect, note the "background", "LevelCam", "LoopLeft" and "LoopRight" objects.
The basic premise of this solution is that we have two Render Textures either side of the level which is fed from a camera covering the entire playable level. Then once they have left the playable level (i.e. are deep enough in the render texture), they will be teleported seamlessly back onto the playable (“real”) level.
 One issue with this approach is that as they approach and pass the boundary, the moving player will leave the range of the camera and enter the render texture, from an observing player on the opposite side (at the “seam”) they will disappear until teleported to their “true” position.
To rectify this issue, the level will then create a new object (obligatory “yes pooling is more efficient, however it’s not necessary for this small 2D project”) which mimics the sprite of whatever is on top of it (including animation) and re-renders it at both ends of the level, so they are at worst, in-sync and can tell what’s happening, and at best, completely seamless.

In this video the sprite shown as red when filled in by the script (make sure to watch fullscreen on desktop to see the left hand side properly!)
Here’s some C# code that made this happen, it should be pretty simple to follow!
This code is on the Render Texture objects at either side of the level, I called them “loopers”
void OnTriggerStay2D(Collider2D col)
{
//If you've collided with a looper, and there's no clone, then make one
if (col.tag == "Loopers")
{
	if (!cloneSpr)
	{
		loopDifference = col.transform.position.x;
		looperCollider = col;
		Vector3 newPos = new Vector3(
			transform.position.x-loopDifference,
			transform.position.y-col.transform.position.y,
			transform.position.z-col.transform.position.z);

		cloneSpr = Instantiate(clonePrefab, newPos, new Quaternion(0f,0f,0f,0f));
		cloneSpr.layer = gameObject.layer;
		cloneSpr.GetComponent<SpriteRenderer>().sortingOrder = sprRender.sortingOrder;
	}
}
}
And here’s the code of the “cloneSpr” prefab which it is instantiating. Pretty simple solution!
void Update()
{
	//If there's a clone sprite, then update it to be exactly the same as the real object
    if (cloneSpr)
    {
    	cloneSpr.GetComponent<SpriteRenderer>().sprite = sprRender.sprite;
    	cloneSpr.GetComponent<SpriteRenderer>().flipX = sprRender.flipX;
    	cloneSpr.transform.position = new Vector3(
    		transform.position.x-loopDifference,
    		transform.position.y,
    		transform.position.z);
    	//If you've moved into the looper a distance of 3, then teleport the player back a bit
    	if (thisCol.Distance(looperCollider).distance < -3)
    	{
    		transform.position = new Vector3(
			transform.position.x+loopDifference*-1,
			transform.position.y,
			transform.position.z);
    	}
    }
}
I’d browsed for other solutions, someone recommended having the entire level as a Prefab and then copying it to either side, but I wasn’t a fan of that, it would essentially be O(3n) as opposed to my solutions O(n+x), which is clearly the better option for performance there, though (if implemented correctly) it wouldn’t have the same issue of cutting off players at the seams, but the teleporters would be more unprofessional.